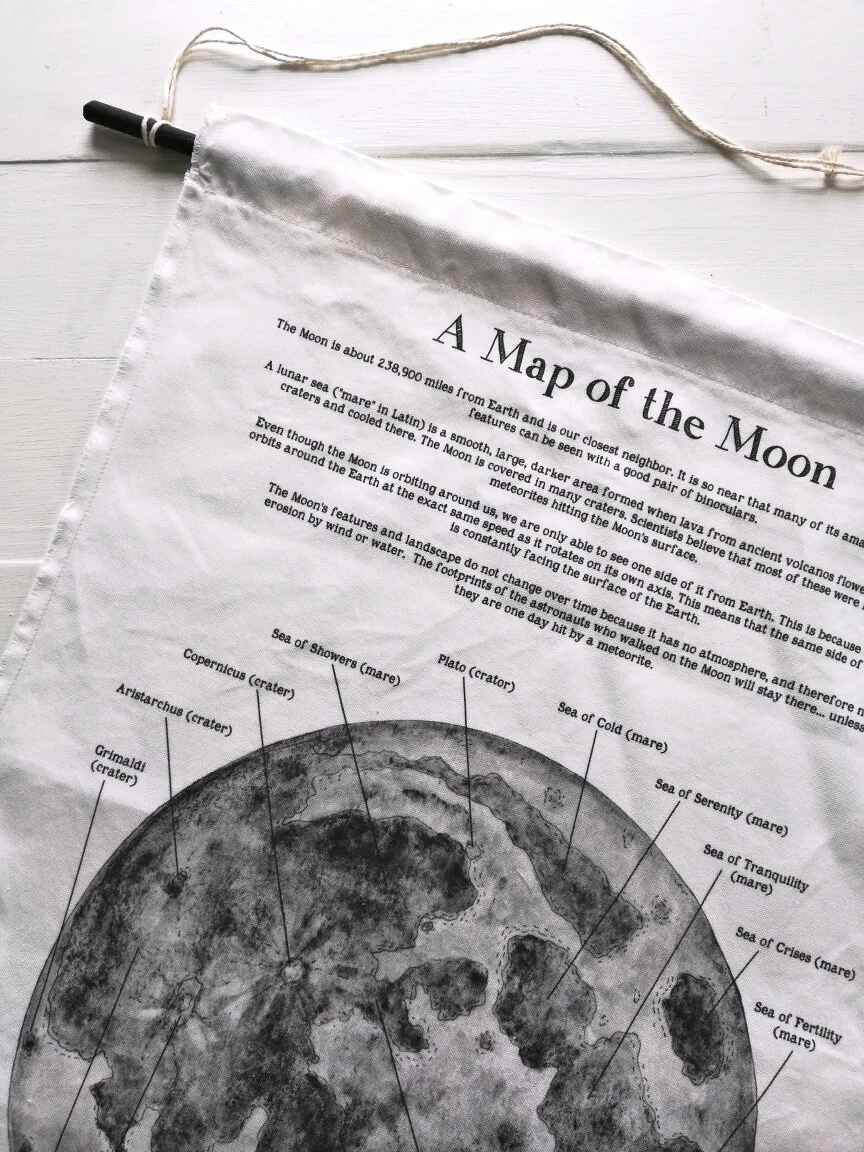
Fabric Banner Tutorial
This is a simple explanation of how I make the fabric banners with Spoonflower’s Linen Cotton Canvas fat quarters.
If you are having trouble figuring out how to order the correct fabric on Spoonflower’s website, I have made a
brief ordering walk-through that you can check out right here.

I make the banners like this because I like the wabi-sabi frayed edges and overall relaxed look, but you can do a proper double hem along the edges and bottom if you would rather. If you are not into sewing at all, these are all available as pre-finished tea towels on Spoonflower!

Step 1: Make a couple of light marks with a pencil about 1 1/4” from the outer edge of the fat quarter.

Step 2: Draw a light pencil line connecting the marks (All of the pencil marks will wash out!). This will be your stitching line. It does not have to be perfect! Also draw a line along the bottom about 1 1/4” away from the base of the image or the text. You can fold the bottom of the banner up to the top and see if the distance between your side lines are basically the same at the top and bottom of the banner. I don’t worry if they are less than 1/4” off.

Step 3: Using your machine, straight stitch over the light pencil lines along the sides and bottom.

Step 4: Now we are going to make the pocket at the top of the banner for your stick or dowel to go through. Hold your banner up and fold over (toward the backside) the top about where you would like the pocket should go. (*The top folded edge usually ends up about 1 3/4” - 2” from the very top of the printed design.) The way that Spoonflower prints the fat quarters will either give you just the right amount of fabric to turn over, or too much. After folding, press a crease with your iron and trim to 1 1/2” if your fat quarter has given you extra fabric on the top.

Step 5: Zig-zag stitch all along the top edge (starting and ending at the side stitching).

Step 6: Trim the sides and bottom of the banner to about 3/8” away from your straight stitching.

Step 7: Press your dowel/stick pocket down, toward the back, with an iron. Along the backside, straight stitch the top flap down (just above the zig-zag stitching) starting and ending at the side stitching.

Step 8: Now pop your banner in the wash to soften it up and let the fraying happen! Lay flat or hang to dry. Do not tumble dry! When your banner is dry, you will probably want to trim any wild threads with a pair of scissors. You can also pull out a few more threads to increase the fringe in places, and then iron it just a little. The linen & cotton combo can be slightly rumpled looking, but I like the imperfect, rustic look.

Step 9: Insert your choice of stick or dowel (or painted dowel!) and attach a bit of string or yarn. And that’s it! Your banner is ready to hang!